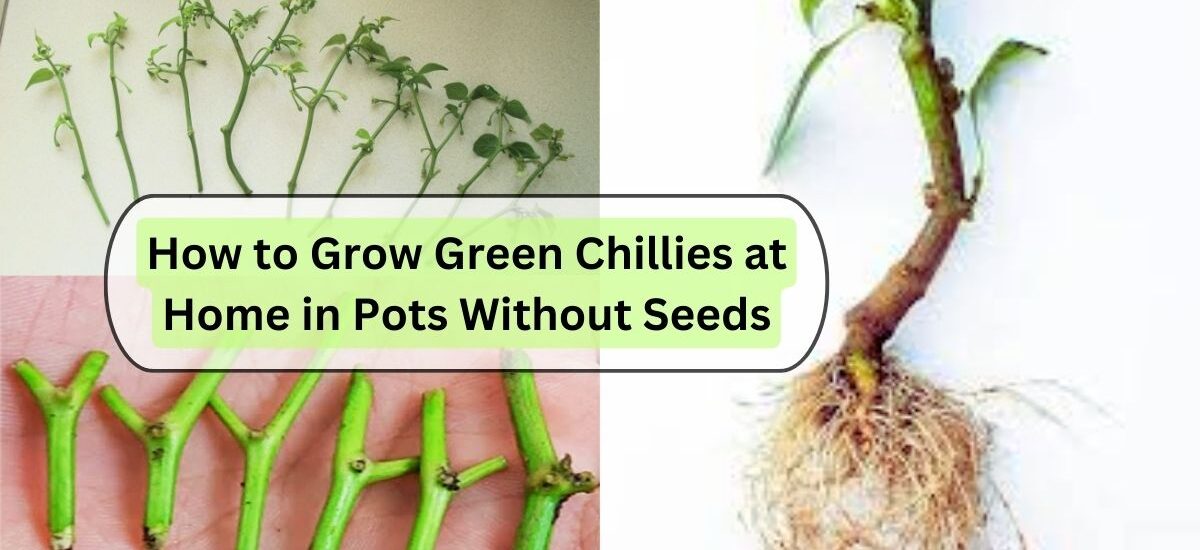
Growing green chillies at home can be a rewarding experience, especially when you can do it without the disturbance of seeds. This method, called propagation, uses cuttings from an existing plant to grow new chillies. Here’s a step-by-step guide that’s easy to follow and suitable for everyone, whether you’re a beginner or an experienced gardener.
Selection and Cutting Stem
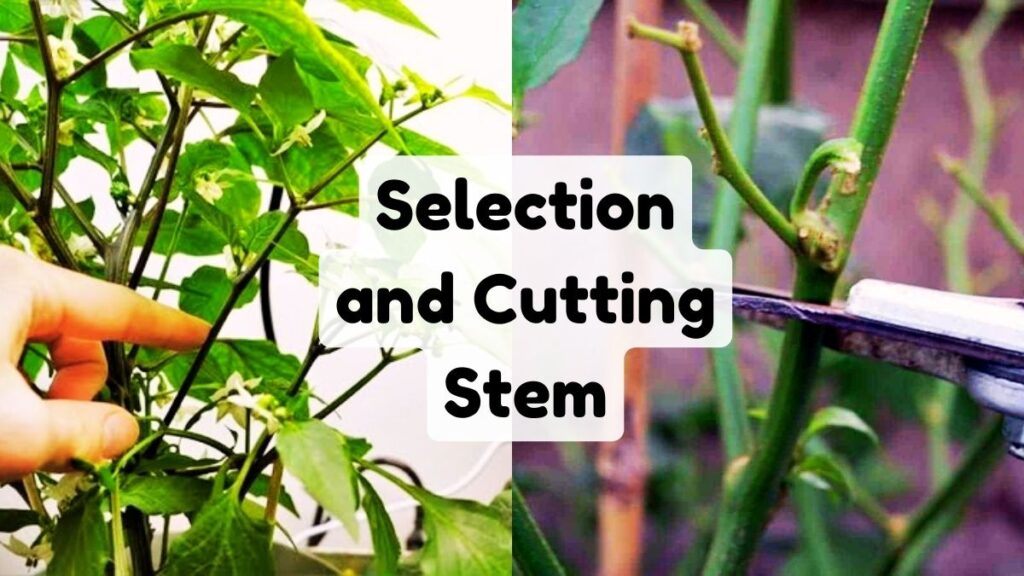
Choose a strong, healthy chilli plant with green, firm stems and no signs of disease or pests. Look for a stem that’s about 4-6 inches long with 2-3 leaf nodes, as these nodes are crucial for root formation. Cut just below a leaf node using clean, sharp scissors or pruning shears to ensure a clean cut and minimize damage. Avoid selecting stems with flowers or fruits, as these can divert energy from root growth. This careful selection sets the stage for successful propagation.
Preparing the Cutting
After cutting, remove leaves from the lower half of the stem, leaving just a few at the top. This reduces water loss through transpiration and helps the cutting focus on root development. If you have rooting hormone, dip the cut end into the powder to encourage quicker root formation, though it’s optional. This step enhances the chances of the cutting establishing roots successfully. Proper preparation is key to turning the cutting into a thriving new plant.

Planting the Cutting
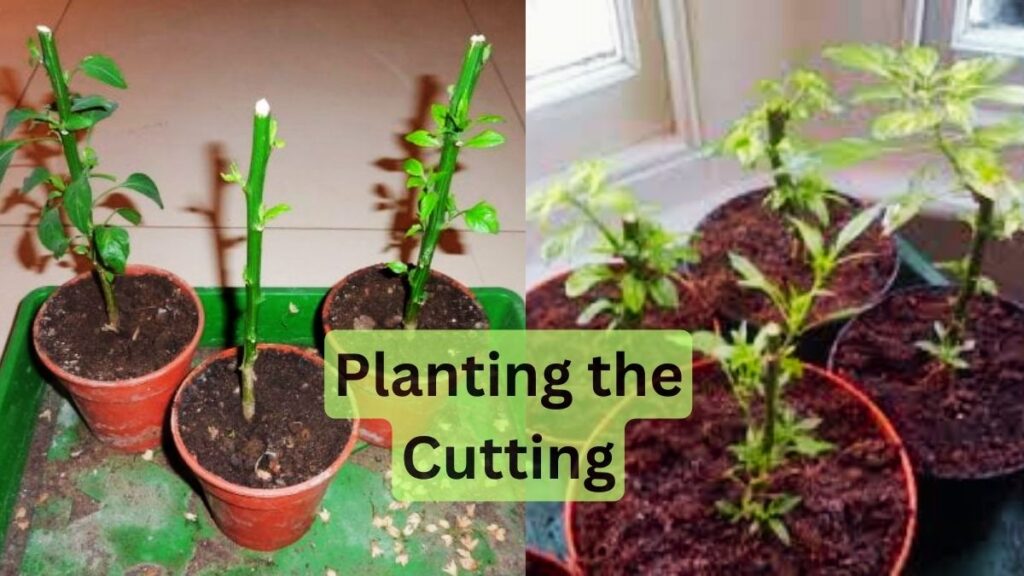
Choose a small pot, about 6-8 inches in diameter, filled with well-draining potting soil. The soil should be moist but not waterlogged to avoid root rot. Create a small hole in the soil with your finger or a pencil, and insert the cutting so that at least one node is buried. Gently press the soil around the cutting to hold it securely in place. Ensuring the cutting is stable and well-anchored is essential for successful rooting.
Creating a Humid Environment
To encourage root development, maintain a humid environment around the cutting. Lightly water the soil to keep it consistently moist, but not too wet. If the air is dry, cover the pot with a clear plastic bag to trap moisture, making sure it doesn’t touch the leaves by propping it up with sticks or a frame. Place the pot in a warm, bright spot with indirect sunlight to avoid scorching the cutting. Humidity is crucial in preventing the cutting from drying out before it roots.
Caring for Your Cutting
During the rooting phase, check the soil daily to ensure it remains moist but not overly saturated. If using a plastic bag, remove it for a few hours each day to allow air circulation, which helps prevent mold and fungus. After 2-4 weeks, gently tug on the cutting to see if it has developed roots; resistance indicates successful rooting. This period requires careful monitoring and consistent care to support root formation.
Transplanting and Growing
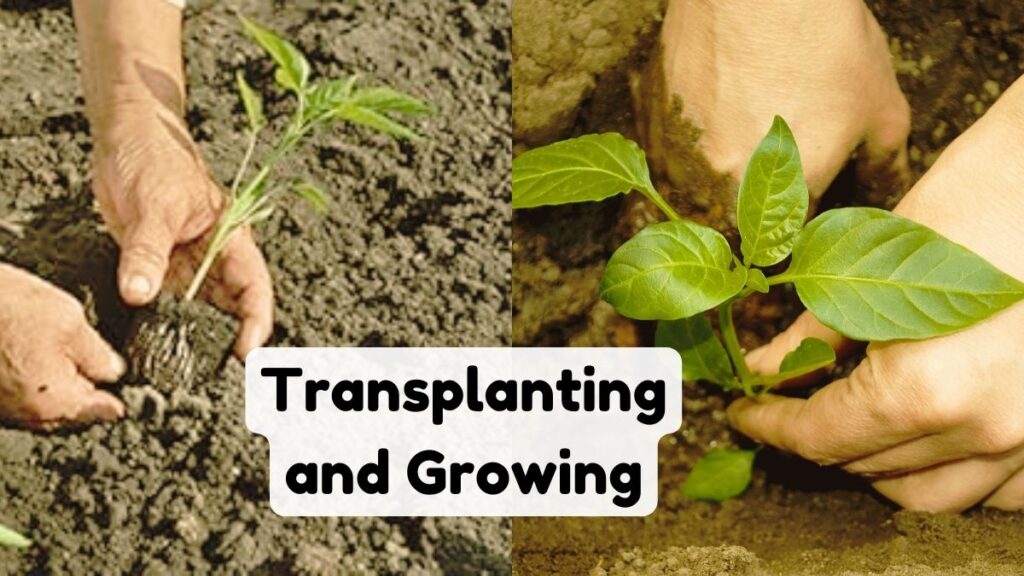
Once roots have formed, the cutting can be treated like a regular plant. Move it to a spot where it receives 6-8 hours of sunlight daily, such as a south-facing window. Continue watering regularly, allowing the soil to dry slightly between waterings to prevent overwatering. Begin feeding the plant with a balanced liquid fertilizer every two weeks to promote healthy growth and chilli production. As the plant grows, you may need to transplant it to a larger pot to accommodate its expanding root system.
Harvesting Your Green Chillies
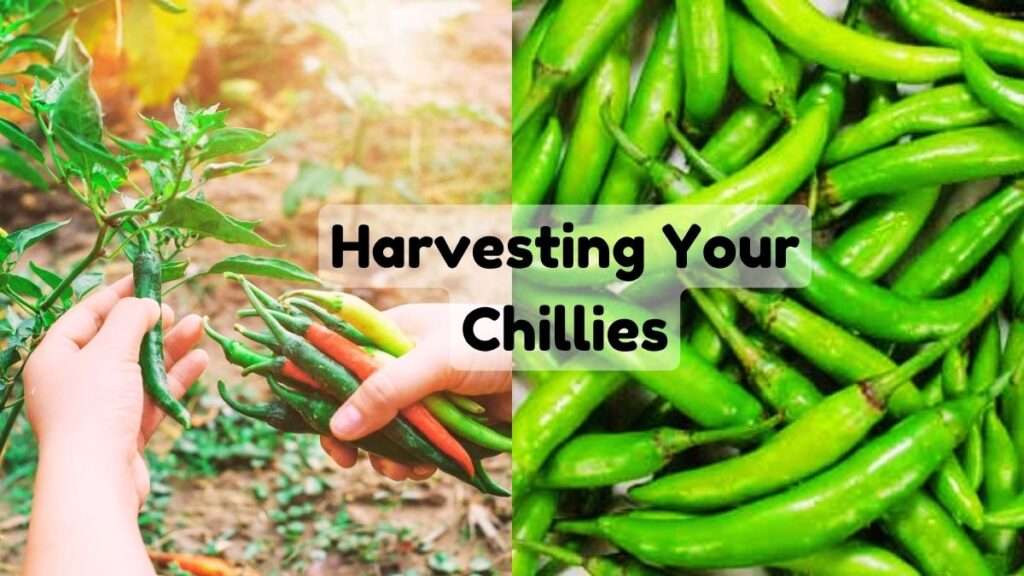
Green chillies can be harvested once they reach their full size and are firm with a smooth, glossy skin. You can pick them while they are still green or wait until they turn red for a spicier flavour. Use scissors or pruning shears to cut the chillies from the plant, leaving a small stem attached to avoid damaging the plant. Proper harvesting encourages the plant to continue producing chillies throughout the growing season. Regular harvesting and care will ensure a steady supply of fresh chillies.
