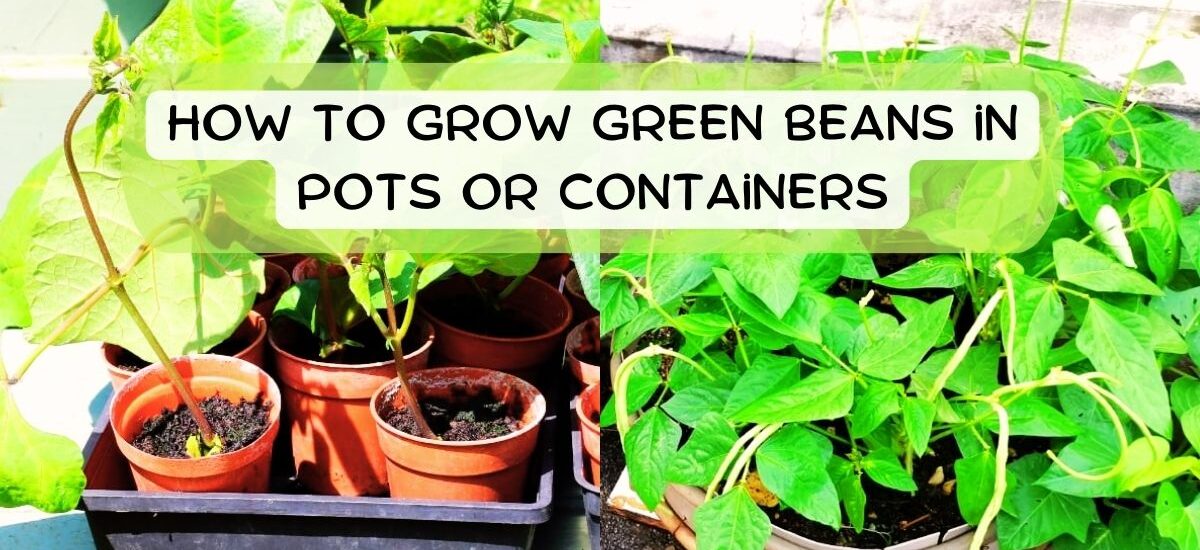
Growing green beans in pots or containers is a great technique to enjoy fresh produce, even if you have limited space. Below, we’ll explore each step-in detail, providing you with all the material you need to successfully grow green beans at home.
Select the Right Variety
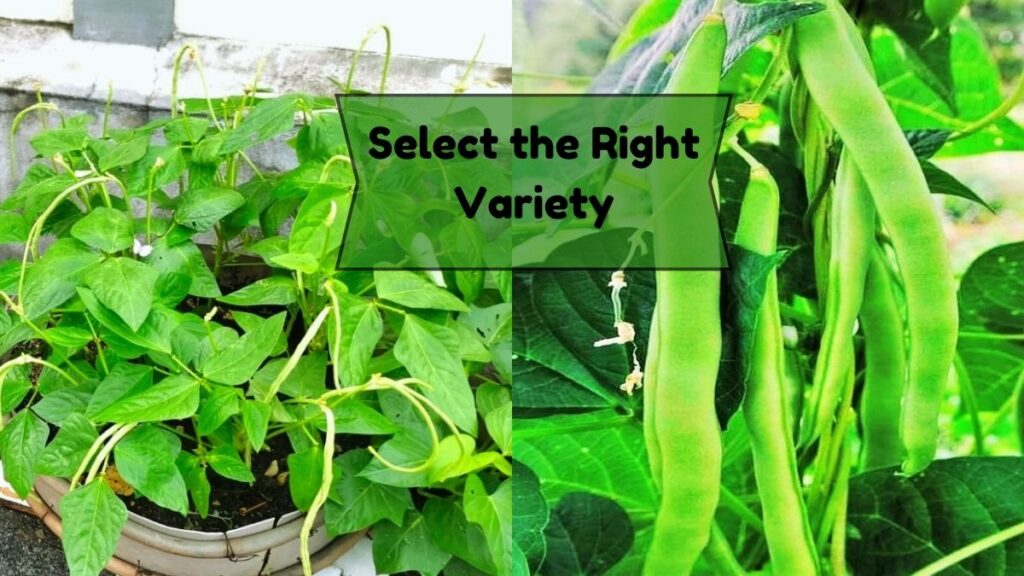
When selecting a green bean variety for pots or container gardening, you have two primary options: bush beans and pole beans. Bush beans grow on compact, bushy plants that don’t need support, making them ideal for smaller pots. They produce beans rapidly and can be harvested in just a few weeks. Pole beans, on the other hand, are climbing plants that need a trellis or support structure. They grow vertically, which saves space in smaller gardens but requires a taller container.
Select the Right Pots or Container
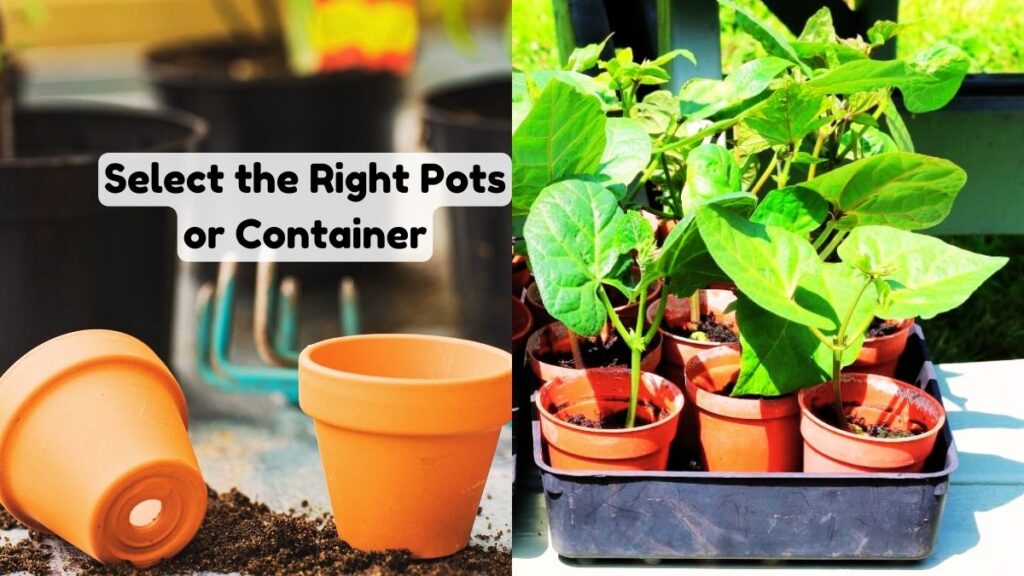
Selecting the right pots or container is vital for the success of your green bean plants. The container must be deep enough to put up the roots, typically 8-12 inches for bush beans and 12-18 inches for pole beans. Fabric grow bags are a popular choice due to their excellent drainage and root aeration. They’re lightweight and can be moved easily, making them perfect for container gardening. Traditional pots made of clay, plastic, or wood can also work well, but confirm they have drainage holes to avoid waterlogging. For pole beans, you’ll need to include a trellis or other support structure in the container, as these plants will climb as they grow.
Find the Right Location
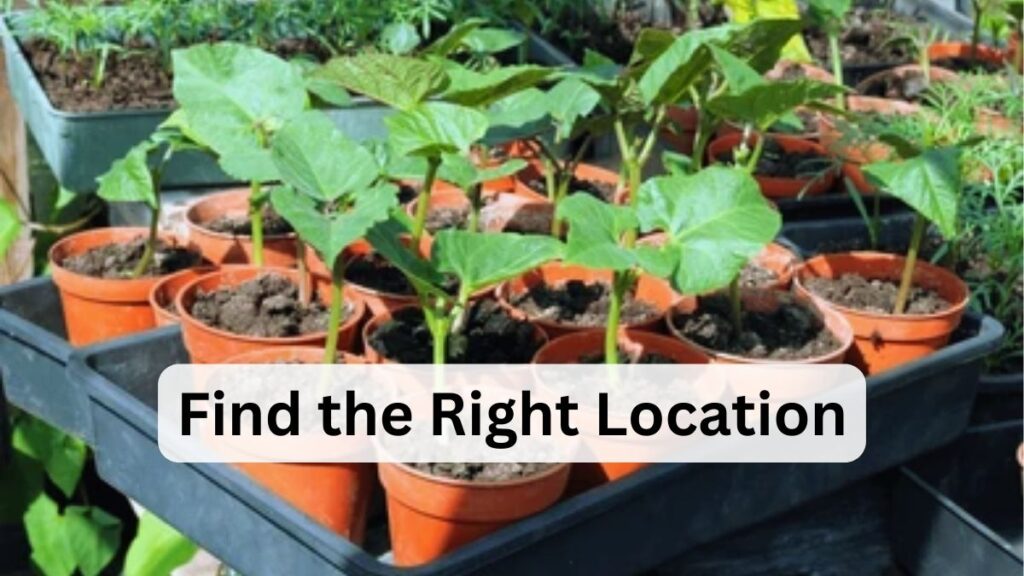
Green beans grow in sunlight, so finding the right location for your containers is vital. Purpose for a spot that receives at least 4-5 hours of direct sunlight daily. Morning sunlight is perfect because it’s warm but not too intense, reducing the risk of overheating your plants. If your area gets very hot in the afternoon, try to provide some shade to keep the plants from scorching. If you’re growing on a balcony or patio, consider the movement of the sun throughout the day and adjust the location as needed to maximize light exposure. Proper sunlight will ensure a healthy, productive crop.
Preparation of Soil
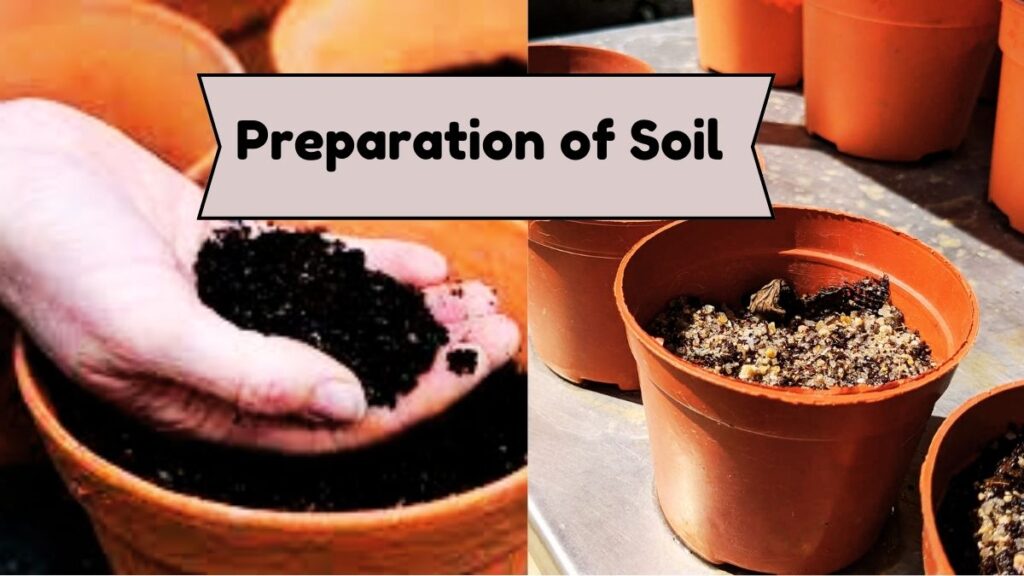
The soil you use plays an important part in the health of your green bean plants. Green beans prefer slightly acidic to neutral soil with good drainage. A standard potting mix works well, but you can improve it by mixing in compost or well-rotted manure, which improves nutrients and organic matter. This supplemented soil will support strong root development and healthy plant growth. Avoid using garden soil in containers, as it can compact and hinder drainage, leading to root rot. Monitoring the pH of your soil (ideally between 6.0 and 7.0) can also help maintain optimal growing conditions for your beans.
Plant the Seeds
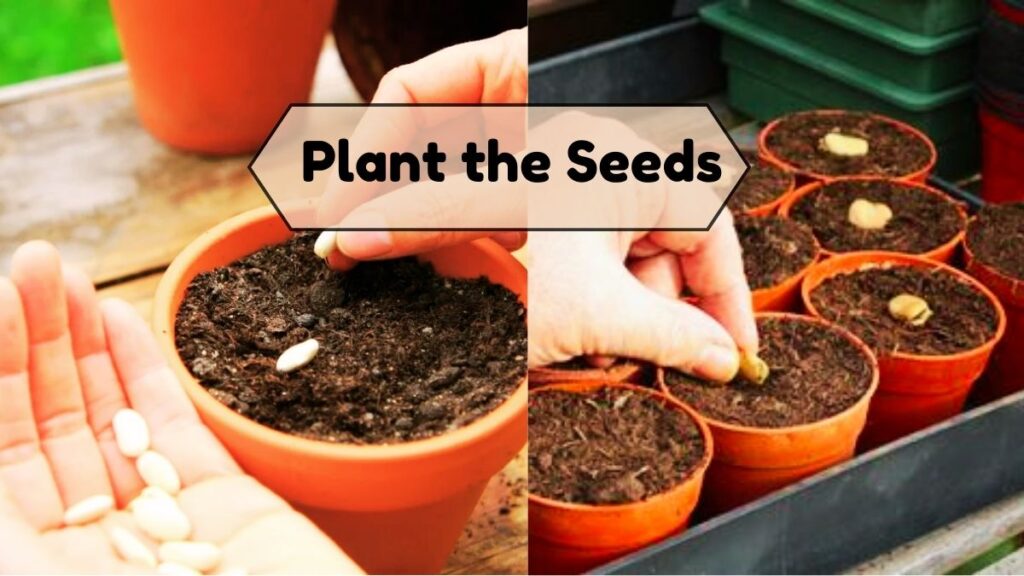
Green beans are best sown directly into pots or containers once the weather is warm sufficient. Wait until the soil temperature is consistently above 55°F, as beans are warm-weather crops that don’t tolerate cold well. Sow the seeds about 1 inch deep, spacing them 2 inches apart for bush beans and 4-6 inches apart for pole beans around their support structure. Water the soil thoroughly after planting to help the seeds settle in. Germination usually occurs within 7-14 days, depending on the temperature. Planting seeds every two weeks will give you a continuous harvest throughout the growing season.
Watering of Green Beans
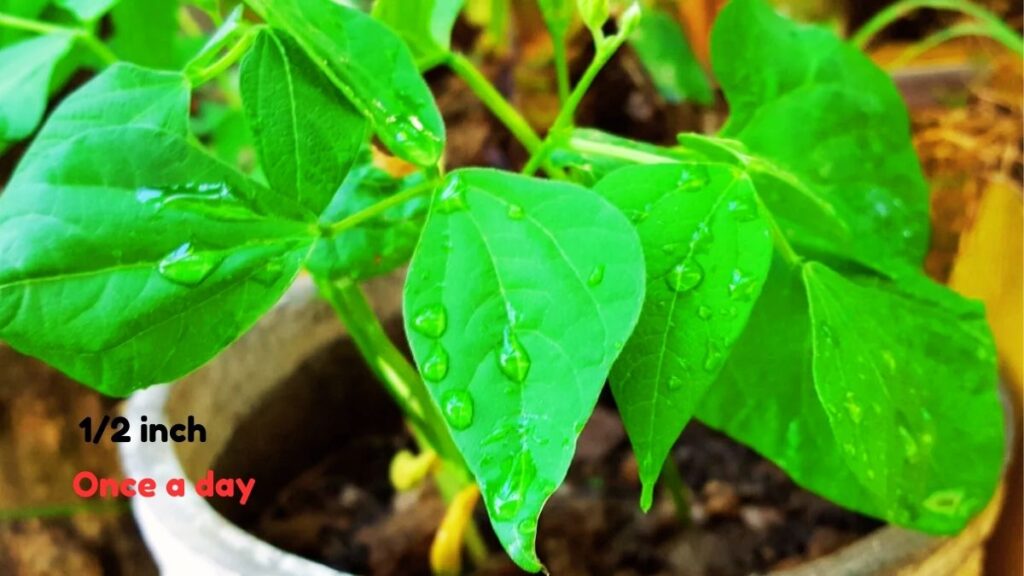
Proper watering is significant to growing healthy green beans. These plants need constantly moist soil, especially during the germination period. Water your beans frequently, confirming the soil doesn’t dry out, but be careful not to overwater, as soggy soil can lead to root rot. Once the plants are established, you can reduce watering to 2-3 times per week, aiming for about 1-2 inches of water weekly. Always check the soil moisture before watering; the top half-inch should be dry before you water again. Well-draining soil and containers with drainage holes are important to avoid waterlogging.
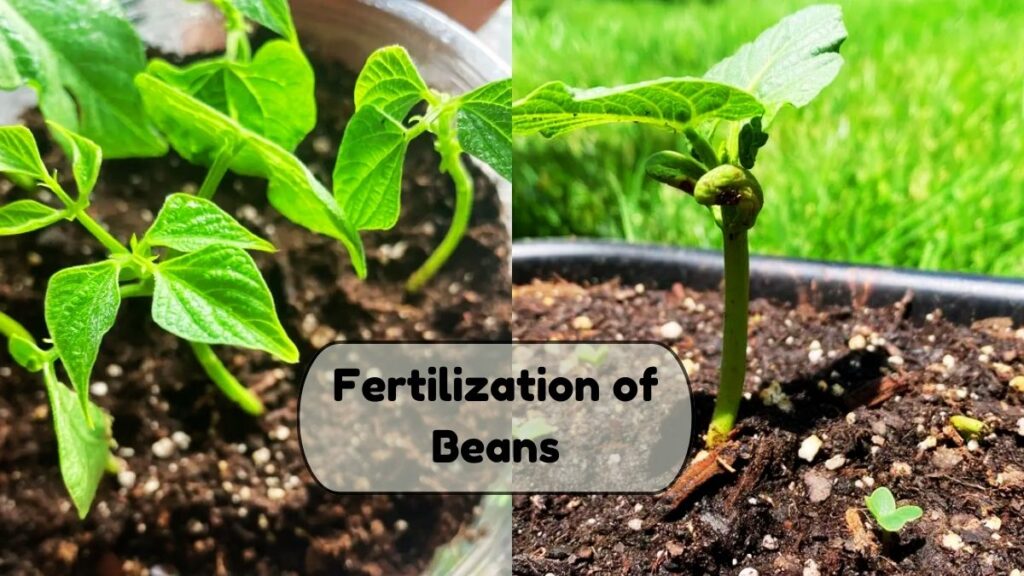
Fertilization of Beans
Green beans are legumes, which means they have the unique ability to fix nitrogen from the air into the soil, reducing their need for nitrogen-rich fertilizers. However, a mid-season application of potassium can be beneficial, especially if you notice the plants are not flowering as much as expected. You can top-dress with compost or use a low-nitrogen fertilizer, like a 5-10-10 mix. Avoid over-fertilizing, as too much nitrogen can lead to excessive leaf growth at the expense of bean production. Feeding your plants properly ensures they have the nutrients needed to produce a bountiful harvest.
Management of Beans Pests
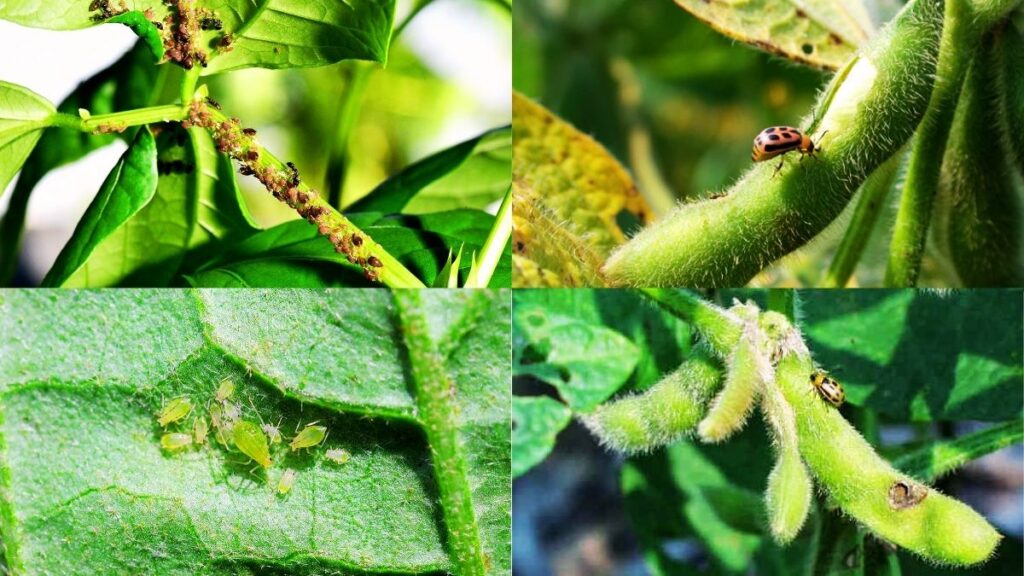
Pests can be a challenge when growing green beans, but regular monitoring can help keep them under control. Common pests include aphids, spider mites, and bean beetles, which can injury leaves and decrease your harvest. Examine your plants regularly, especially the undersides of leaves where pests like to hide. If you notice an infestation, treat it promptly with insecticidal soap or neem oil. Both are effective and safe for organic gardening. Ensure good air circulation around your plants to prevent pest buildup and consider companion planting with herbs like basil or marigold, which can deter pests naturally.
Beans Harvesting
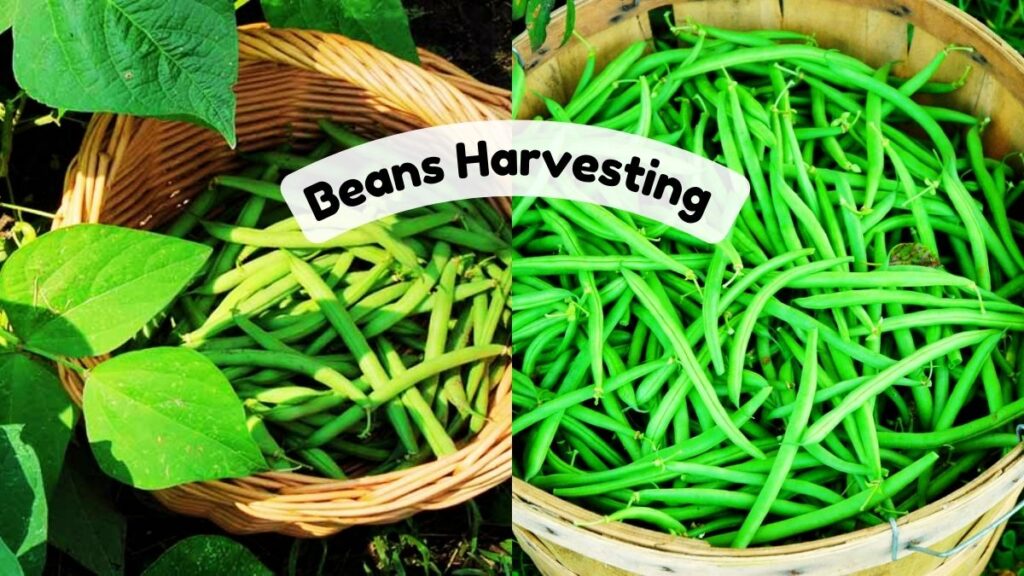
Harvesting your green beans at the right time is critical for the best flavor and texture. Beans are usually ready to pick about 50-60 days after planting, depending on the variety. The best time to harvest is when the pods are firm and plump but not yet bulging with seeds. Regularly picking the beans encourages the plant to produce more, leading to a longer harvest period. Gently snap or cut the pods from the plant to avoid damaging the vines. With proper care, you can enjoy fresh green beans from midsummer until early autumn.
