Bitter gourd, also known as bitter melon or karalla, is a unique vegetable with a distinct bitter taste that many love for its health benefits and culinary versatility. Growing bitter gourd from seeds at home can be a rewarding experience, offering you fresh produce from your home garden.
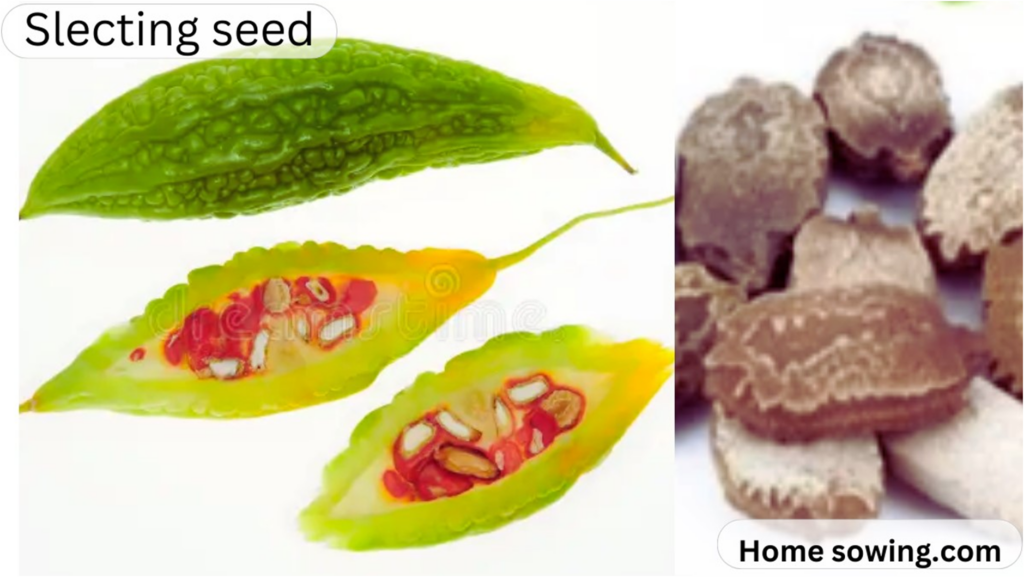
Selecting Seeds
Select high-quality bitter gourd seeds from a reputable supplier or garden center. Look for seeds that are specifically suited for your climate and growing conditions.
Choose the Right Location
Bitter gourd plants thrive in warm, sunny locations. Choose a spot in your garden that receives full sunlight for at least 6-8 hours a day. Ensure that the soil is well-drained and fertile, with a pH level between 6.0 and 6.7.
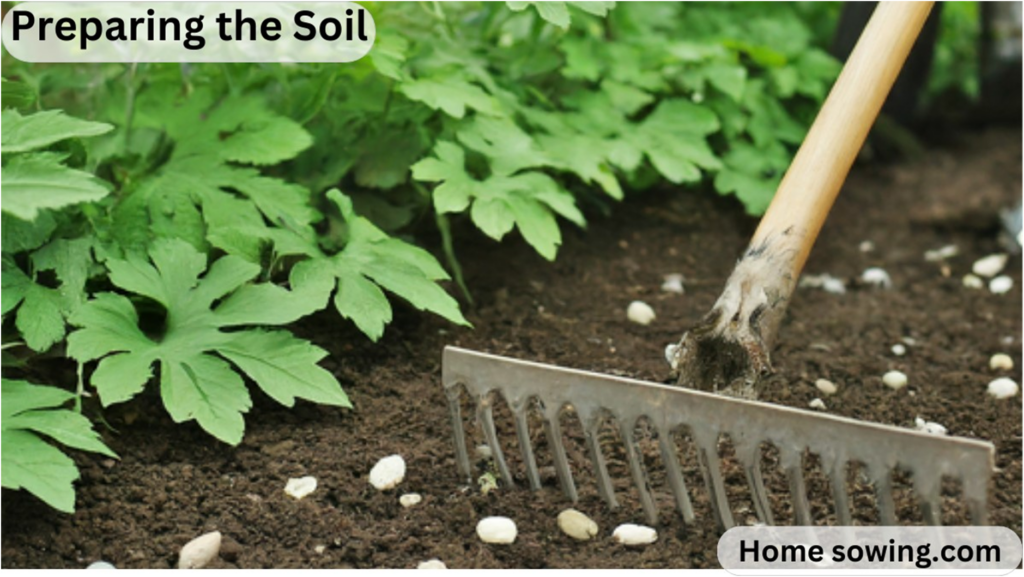
Preparing the Soil
Prepare the soil by loosening it with a shovel or garden fork to a depth of about 12-18 inches. Remove any weeds, rocks, or debris from the area. Incorporate organic matter such as compost or aged manure to improve soil fertility and drainage.
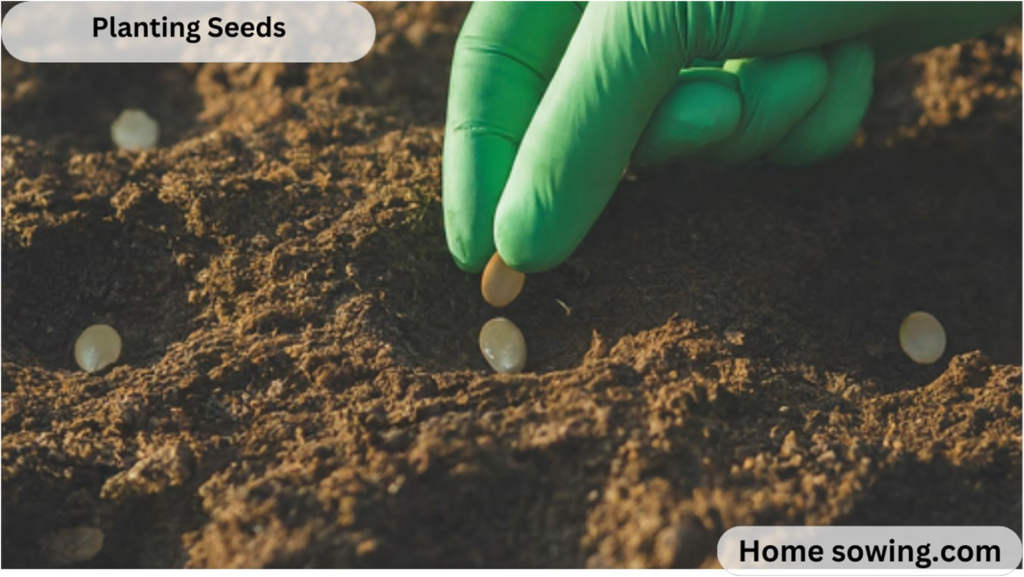
Planting Seeds
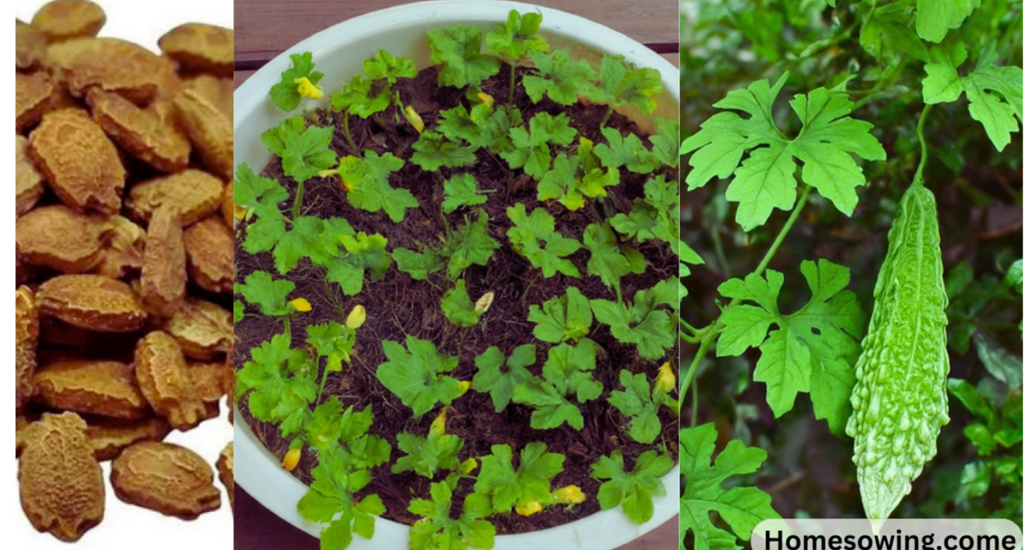
Bitter gourd seeds can be directly sown into the ground started indoors in seed trays. If starting indoors, plant the seeds in small pots filled with a seed-starting mix about 4-6 weeks before the last frost date in your area. Plant the seeds 1 inch deep and water thoroughly.
Transplanting Seeds (if started indoors)
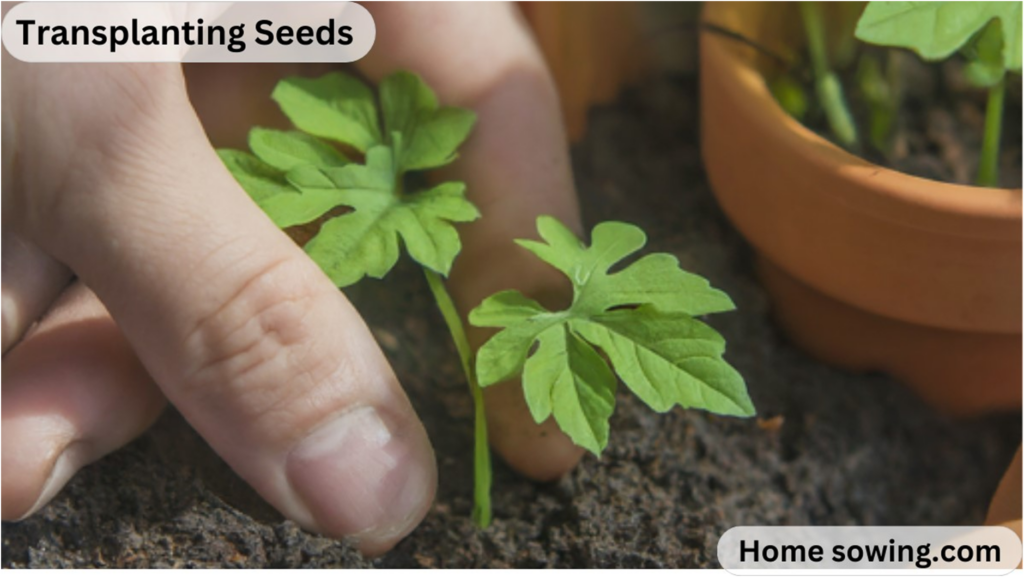
Once the seedlings have developed a few true leaves and the threat of frost has passed, they can be transplanted into the garden. Choose a cloudy day or late afternoon to minimize transplant shock. Space the seedlings about 12-18 inches apart in rows spaced 3-4 feet apart.
Providing Support
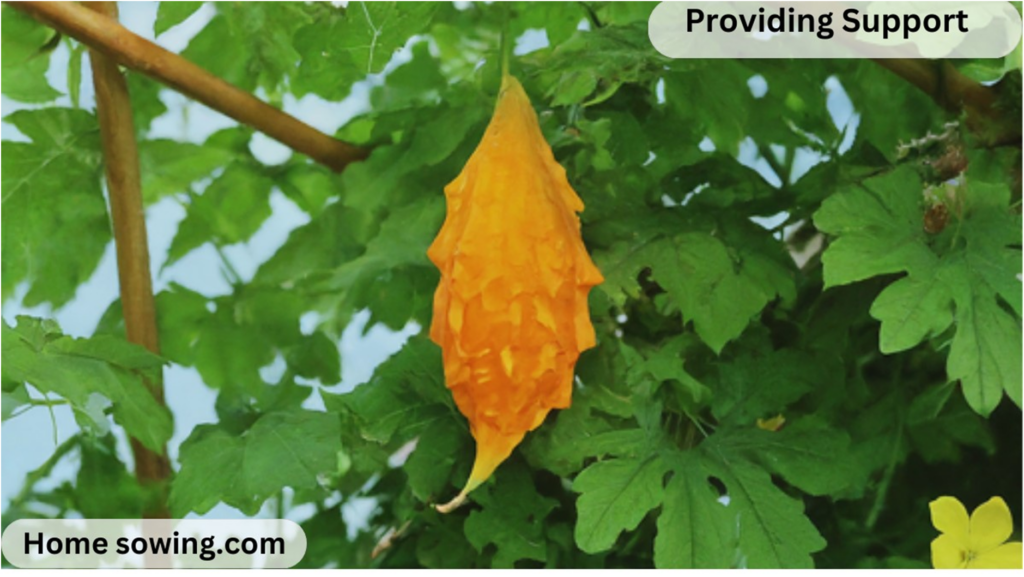
Bitter gourd plants are vigorous climbers and benefit from trellises or other supports. Install a trellis or set up a vertical support structure near the plants to allow them to climb and spread out.
Watering and Mulching
Keep the soil consistently moist but not waterlogged, especially during the flowering and fruiting stages. Water the plants deeply at least once a week, adjusting the frequency based on weather conditions. Apply a layer of organic mulch such as straw or shredded leaves around the plants to help retain moisture and suppress weeds.
Fertilizing
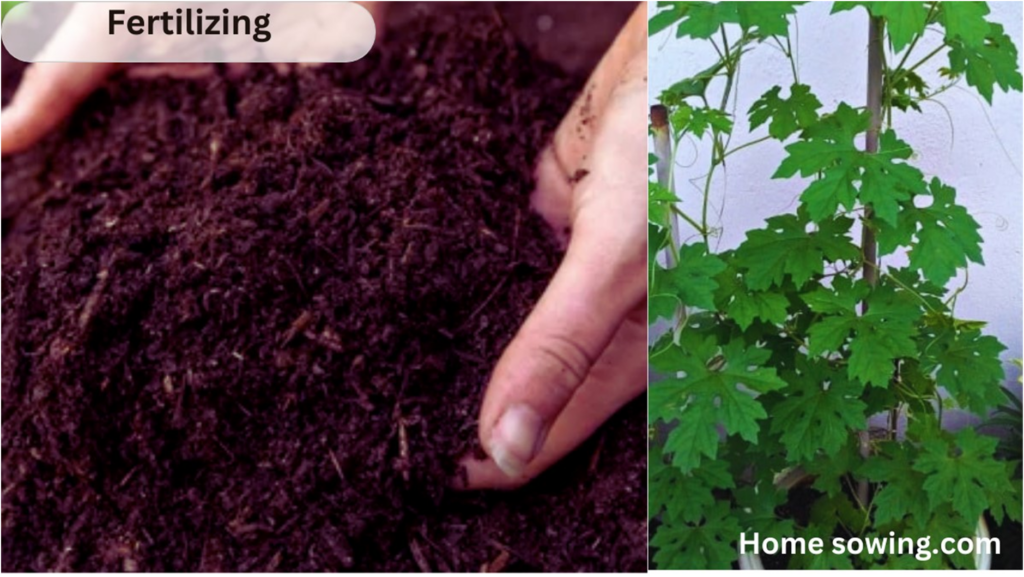
Bitter gourd plants are heavy feeders and benefit from regular fertilization throughout the growing season. Apply a balanced fertilizer or compost tea every 2-3 weeks to promote healthy growth and abundant fruit production.
Management Pests and Diseases
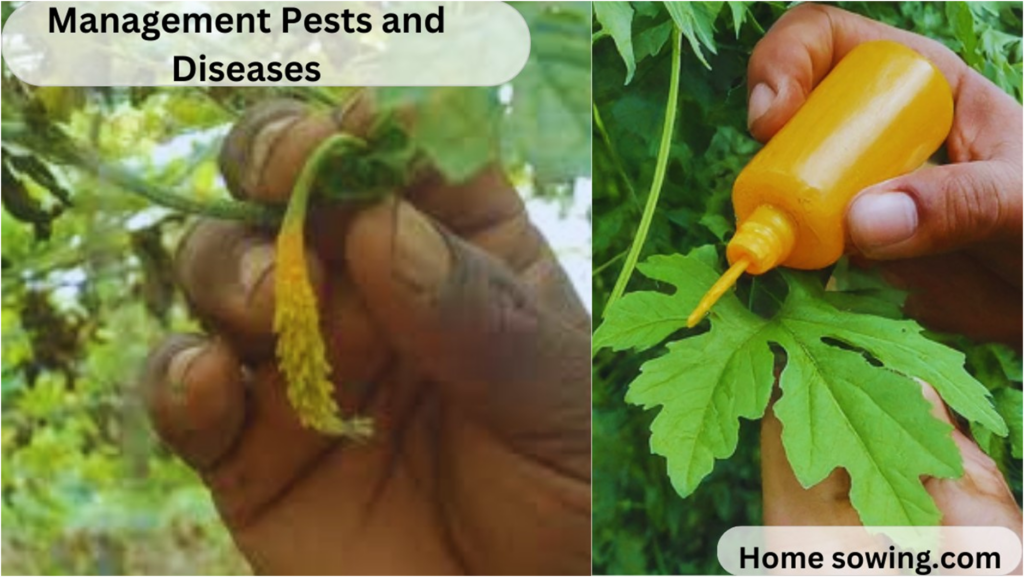
Keep an eye out for common pests such as aphids, whiteflies, and cucumber beetles, as well as diseases like powdery mildew and bacterial wilt. Use organic pest control methods such as insecticidal soap or neem oil to manage pest infestations. Practice crop rotation and proper sanitation to prevent the spread of diseases.
Harvesting
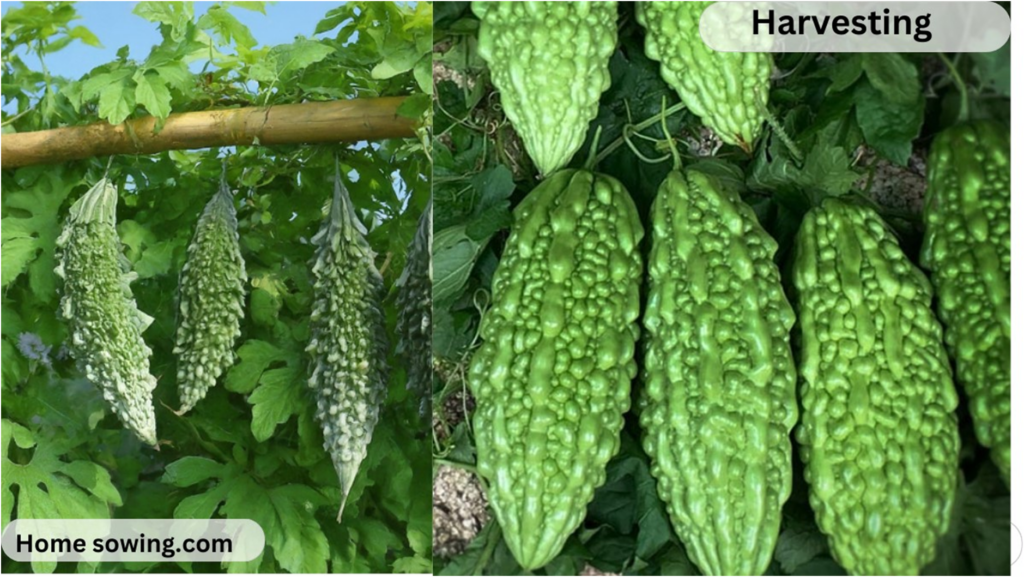
Bitter gourds are typically ready for harvest 8-12 weeks after planting, depending on the variety. Harvest the fruits when they are firm and about 4-6 inches long for optimal taste and tenderness. Use a sharp knife or scissors to cut the fruits from the vine, taking care not to damage the plant.
