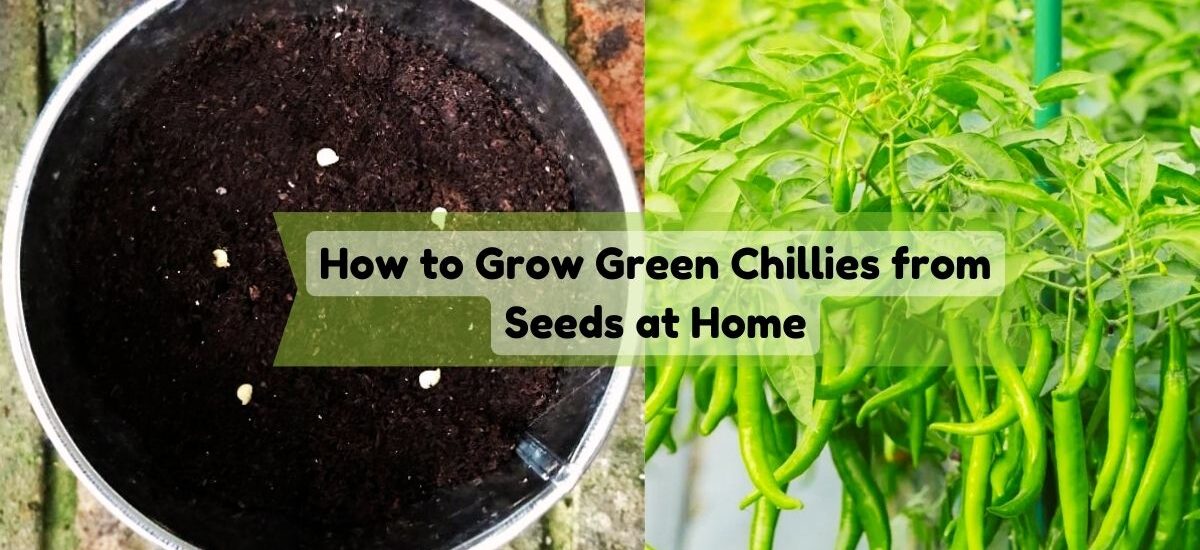
Growing green Chillies at home is a fulfilling project that allows you to enjoy fresh, flavorful Chillies straight from your garden. Whether you’re an experienced gardener or just starting, this guide will walk you through the process step by step.
Selecting the Right Seeds
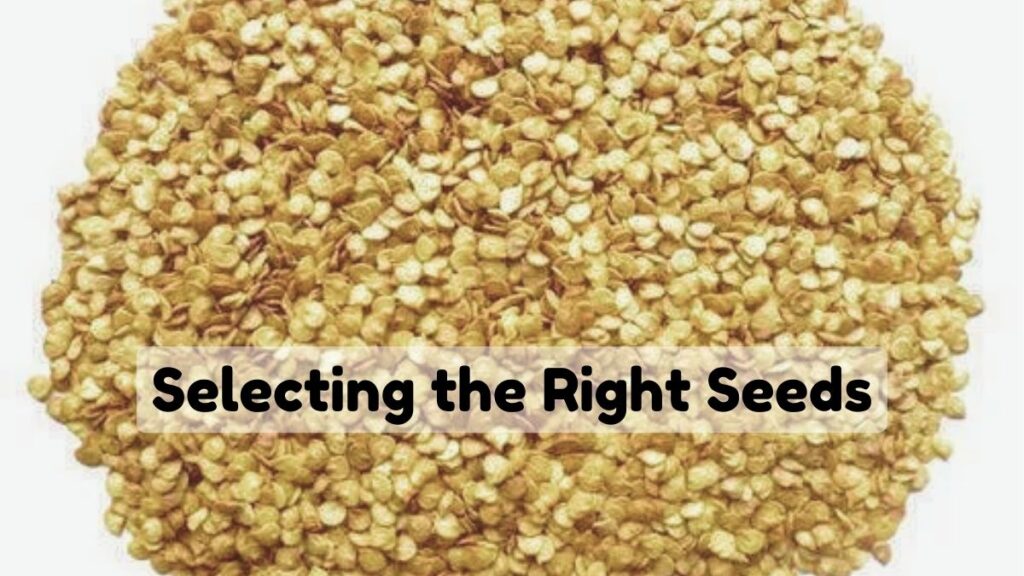
The first step in growing green chillies is selecting high-quality seeds. If you’re a beginner, it’s best to purchase seeds from a reliable gardening store. These seeds are usually bred for better germination rates and disease resistance. While it’s possible to use seeds from store-bought chillies, keep in mind that these seeds might not always produce plants identical to the parent chilli, especially if it’s a hybrid variety. Also, some store-bought chillies may have been treated to prevent germination. Therefore, for consistent results, opt for seeds labeled specifically for planting.
Preparing the Seeds for Planting
To increase the chances of successful germination, soak your chilli seeds in warm water for 12-24 hours before planting. This helps soften the seed coat, making it easier for the seedling to break through. If you’re in a hurry or want to ensure the fastest germination possible, you can take an additional step by placing the soaked seeds in a damp paper towel. Fold the paper towel with the seeds inside, put it in a plastic bag, and place it in a warm spot. After 2-3 days, you should notice tiny sprouts emerging from the seeds, indicating that they are ready to be planted.
Preparing the Soil
Chillies thrive in well-draining, nutrient-rich soil. You can create an ideal soil mix by combining garden soil with compost and sand in a 2:1:1 ratio. The compost enriches the soil with essential nutrients, while the sand improves drainage, preventing water from sitting around the roots and causing rot. If you’re using garden soil, it’s wise to sterilize it first by spreading it on a baking tray and heating it in the oven at 180°C (350°F) for about 30 minutes. This process kills harmful pests and diseases that could harm your seedlings. Alternatively, you can purchase pre-mixed potting soil designed for vegetables, which is often already balanced and ready for use.
Sowing the Seeds
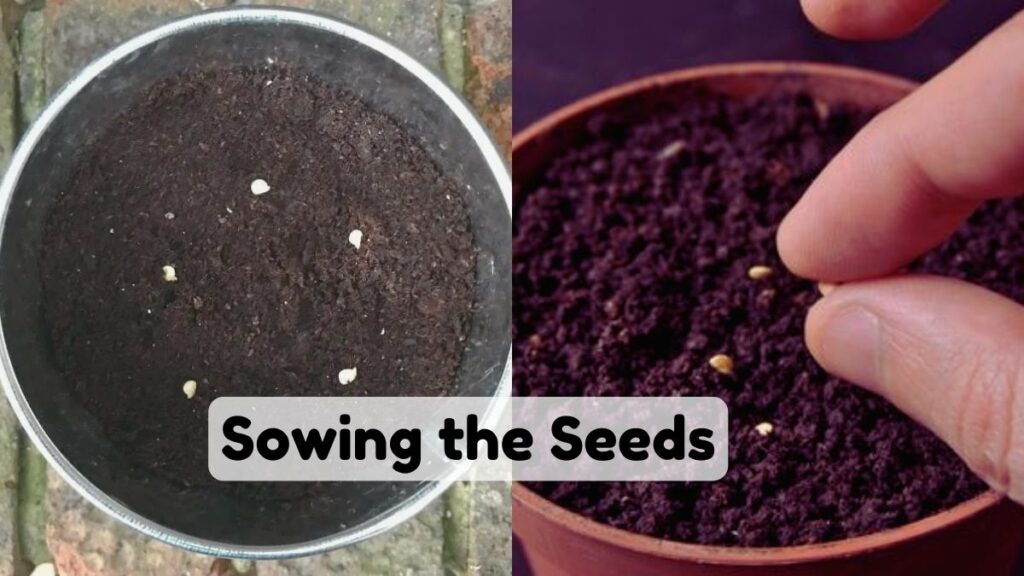
Now that your seeds and soil are ready, it’s time to plant. Fill small pots or seed trays with your prepared soil mix. Using your finger or a pencil, make small holes about 0.5 cm deep. Drop one or two seeds into each hole, then gently cover them with soil. If you’re planting in a garden bed, space the seeds about 30-45 cm apart to give each plant enough room to grow. After sowing, water the soil gently using a watering can with a fine rose, ensuring the soil is moist but not waterlogged. Overwatering at this stage can cause the seeds to rot before they have a chance to sprout.
Germination and Early Growth
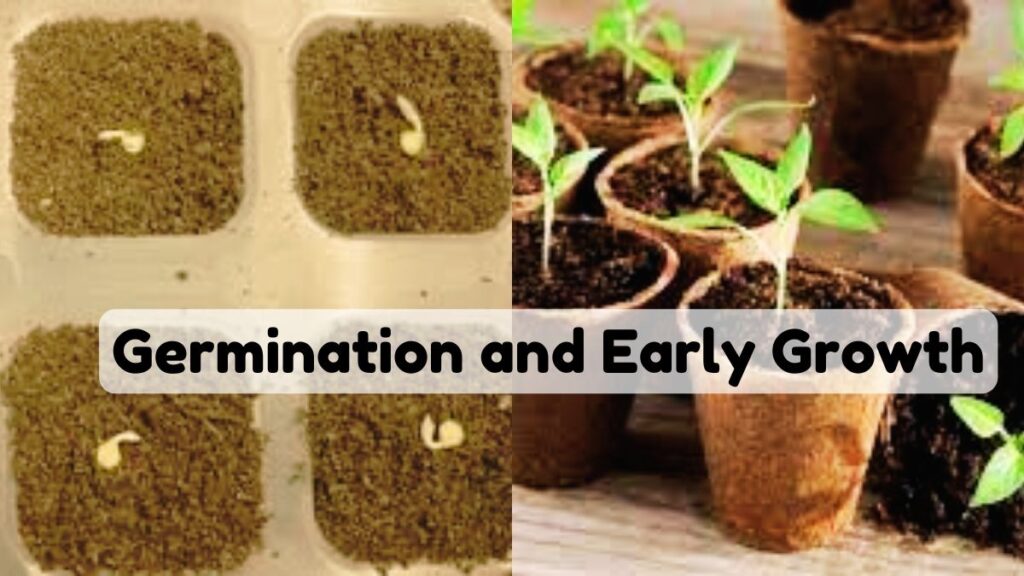
Chilli seeds require warmth to germinate, so keep the soil temperature between 20-30°C. Place the pots or trays in a warm area of your home, such as near a sunny window or on top of a refrigerator, which emits gentle heat. While the seeds don’t need direct sunlight at this stage, they do need a bright spot with indirect light. Depending on the variety and conditions, the seeds should start to sprout within 1 to 3 weeks. Once the seedlings appear, move them to a location where they can receive direct sunlight for at least 6-8 hours a day. This light is crucial for strong, healthy growth.
Transplanting the Seedlings
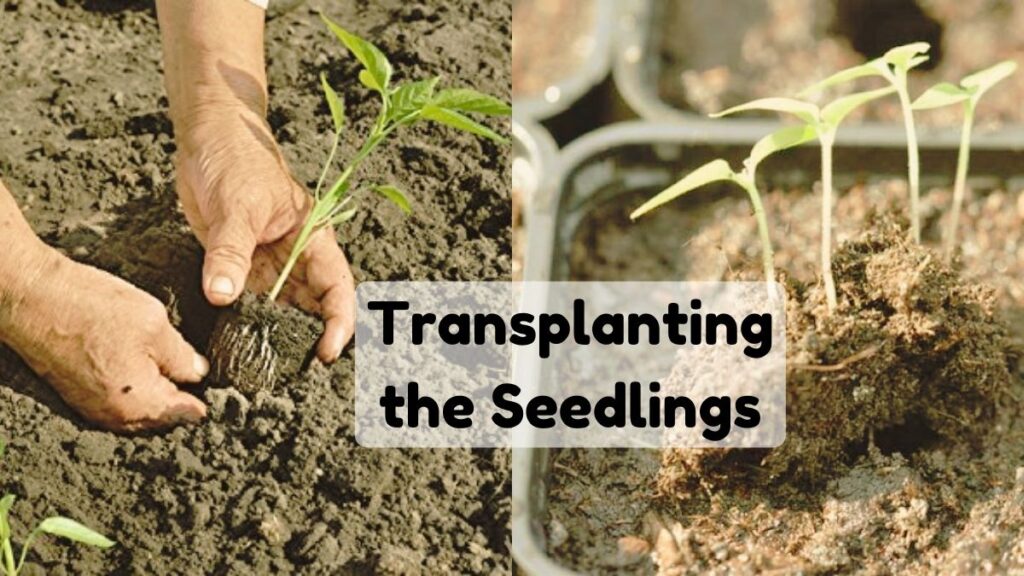
When your chilli seedlings have grown to about 10-15 cm tall and have developed 4-6 true leaves (not just the initial seed leaves), they are ready to be transplanted into larger pots or into your garden. If you’re moving them to the garden, choose a sunny spot with well-draining soil. Before transplanting, water the seedlings well to reduce transplant shock. Dig holes that are slightly larger than the root ball of each seedling. Place the seedlings in the holes at the same depth they were growing in the pots or trays, then gently fill in the soil around them. Space each plant about 45 cm apart to allow enough room for air circulation and growth.
Caring for Your Chillies Plants
Once your seedlings are in their final growing spot, it’s important to care for them properly to ensure they thrive. Water the plants regularly, especially during dry spells, but avoid overwatering, as chilli plants don’t like their roots to be constantly wet. Aim to keep the soil consistently moist, but let the top layer dry out between waterings. Fertilize your chilli plants every 3-4 weeks using a balanced fertilizer (such as an NPK 10-10-10) or an organic alternative like compost tea or liquid seaweed extract. As the plants grow taller, they may become top-heavy, so you might need to stake them to provide support and prevent them from falling over.
Dealing with Pests and Diseases
Green chilli plants are generally hardy, but they can still fall prey to pests and diseases. Common pests include aphids, spider mites, and whiteflies, which can damage the leaves and stunt the plant’s growth. To combat these pests, you can use natural remedies like neem oil or insecticidal soap, applying them in the early morning or late evening to avoid harming beneficial insects. Fungal diseases like powdery mildew can also affect chilli plants, particularly in humid conditions. To prevent these issues, ensure good air circulation around the plants, water at the base rather than from above, and remove any affected leaves immediately to stop the spread of disease.
Harvesting Your Chillies
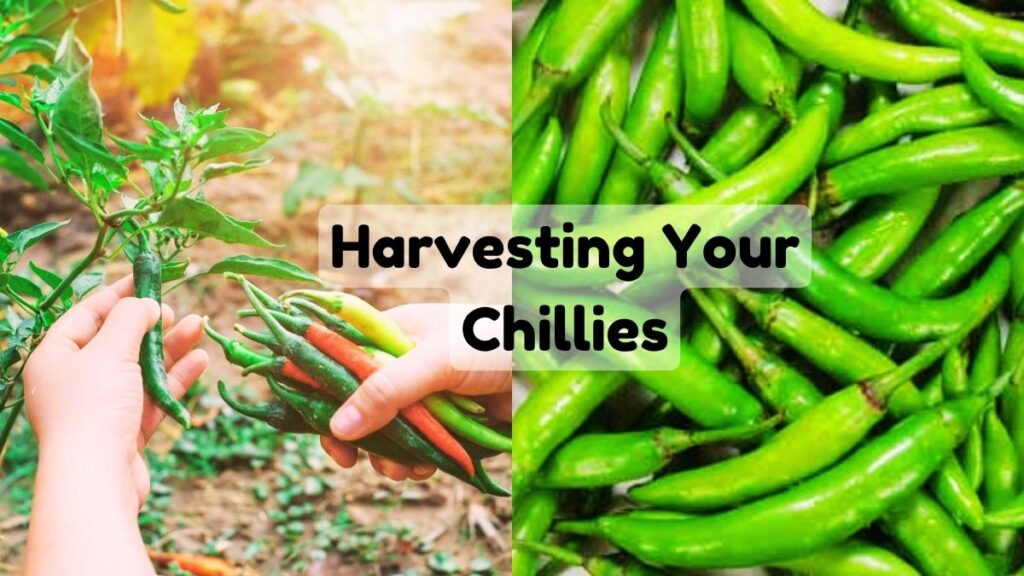
After about 60-80 days, your green chillies should be ready for harvest. The exact timing depends on the variety and growing conditions, but generally, chillies can be picked when they are firm and have reached their full size. To harvest, use scissors or a sharp knife to cut the chillies from the plant, leaving a small piece of stem attached to the fruit. This method helps to protect the plant and encourages further fruiting. If you prefer your chillies hotter, you can leave them on the plant longer to ripen further, often turning red in the process, which increases their heat.
Continued Care for Ongoing Harvests
Green chilli plants can continue producing fruit for several months, especially if you live in a warm climate or keep the plants indoors during cooler months. After the first harvest, continue to care for your plants by watering, fertilizing, and checking for pests regularly. Prune any dead or diseased leaves to keep the plant healthy. With the right care, your chilli plant can yield a steady supply of chillies for your kitchen, allowing you to enjoy fresh, homegrown produce throughout the growing season.


