There has been a growing interest in sustainable gardening practices in recent years. People want to reduce waste and grow fresh produce in cities. One new method is using old plastic buckets to grow veggies like bottle gourds. This veggie, also known as calabash or Lauki loves warm weather and fits well in small spaces like balconies or patios. In this article we’ll explore how to grow bottle gourd in old plastic buckets, providing an easy and eco-friendly gardening solution.
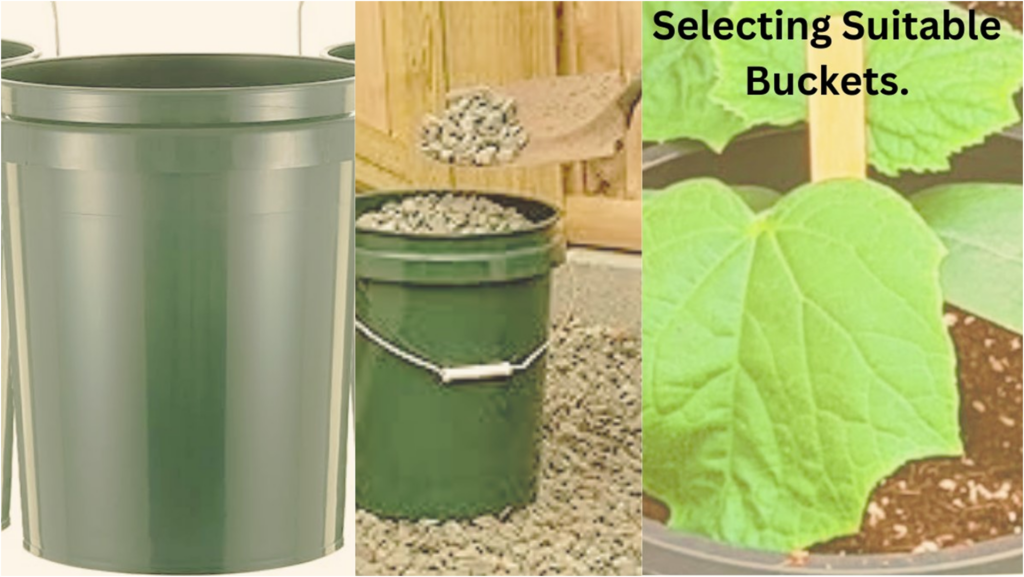
Selecting Suitable Buckets (Gallons)
To start, find old plastic buckets that are just the right size. Aim for ones that can hold at least 5 gallons of soil. This gives enough room for the bottle gourd roots to grow nicely. Make sure the buckets are clean and have nothing them that could stop the plants from growing well. If you can, use buckets that would otherwise be thrown away. This helps keep things eco-friendly by giving them a new use instead of ending up in the trash.
Soil Selection and Filling
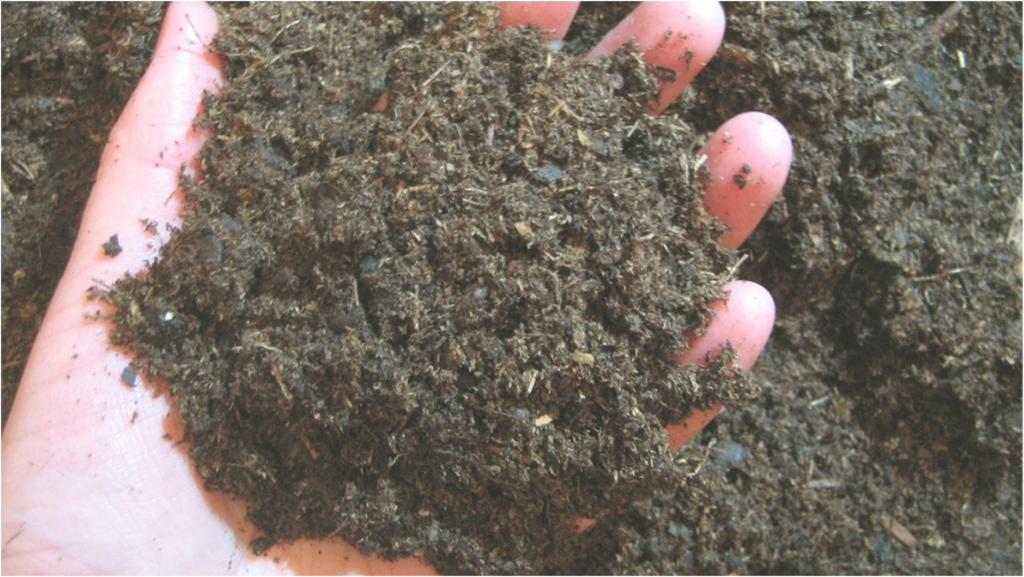
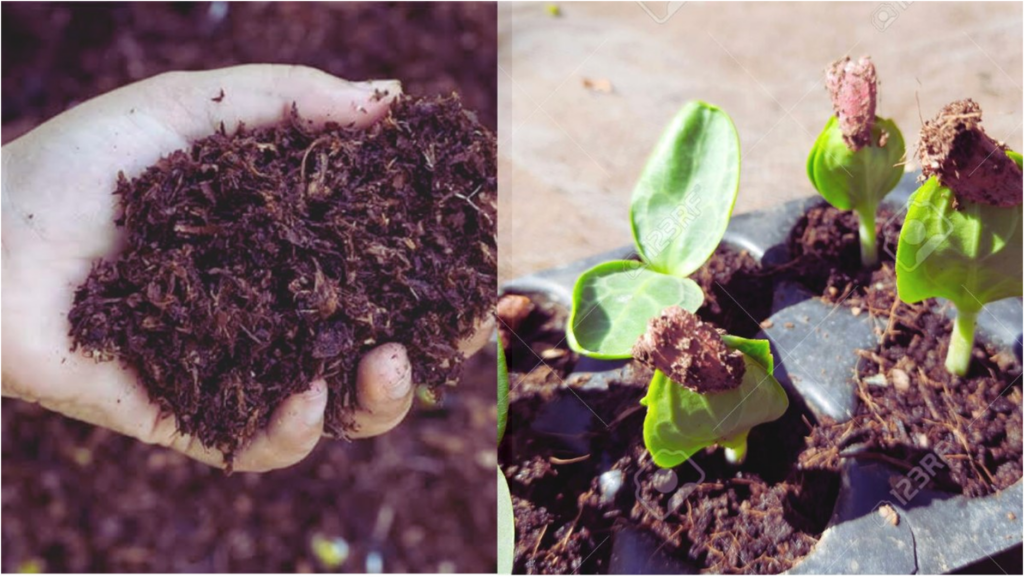
Next, choose a well-draining potting mix suitable for vegetable cultivation. Mixing garden soil, compost, and prelate or vermiculite works well for bottle-gourd plants. Fill each bucket with the prepared soil mixture, leaving a few inches of space at the top to accommodate watering.
Planting Bottle Gourd Seeds
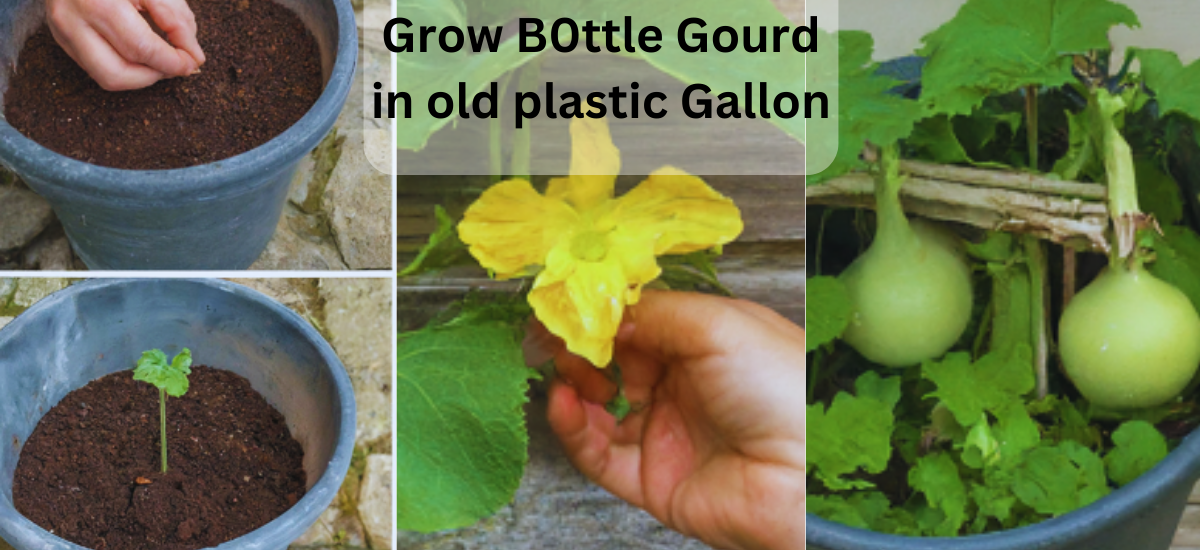
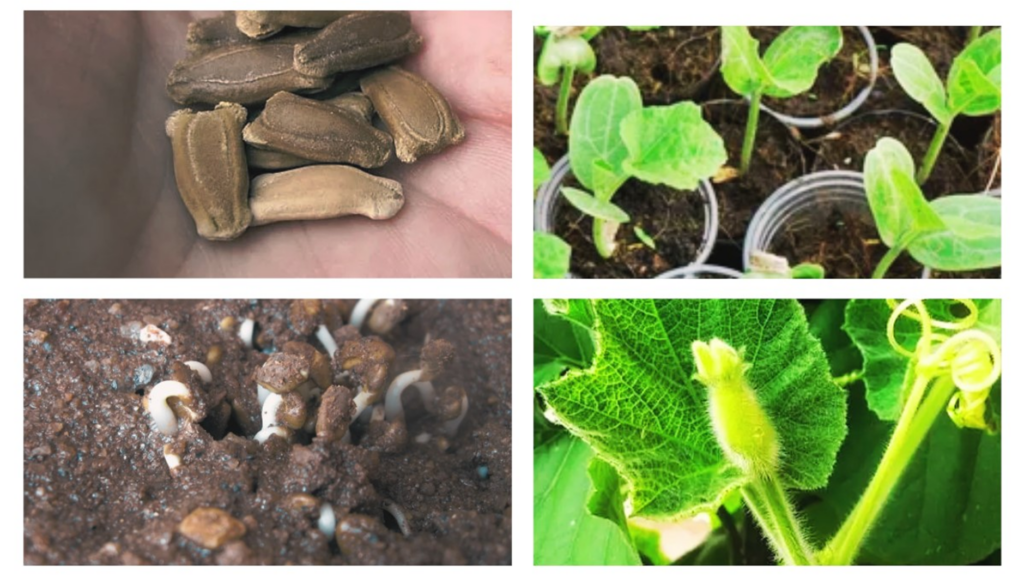
Bottle gourd seeds can be directly sown into the prepared buckets once the danger of frost has passed and temperatures consistently remain above 60°F (15°C). Plant 2-3 seeds per bucket, spacing them evenly apart. Gently press the seeds into the soil to ensure good soil contact, then cover them with a thin layer of soil.
Watering and Care
Keep the soil consistently moist but not waterlogged throughout the growing season. Water the plants regularly, especially during hot and dry periods, ensuring that the soil doesn’t dry out completely. Avoid overhead watering to prevent fungal diseases; instead, water directly at the base of the plants.
Providing Support
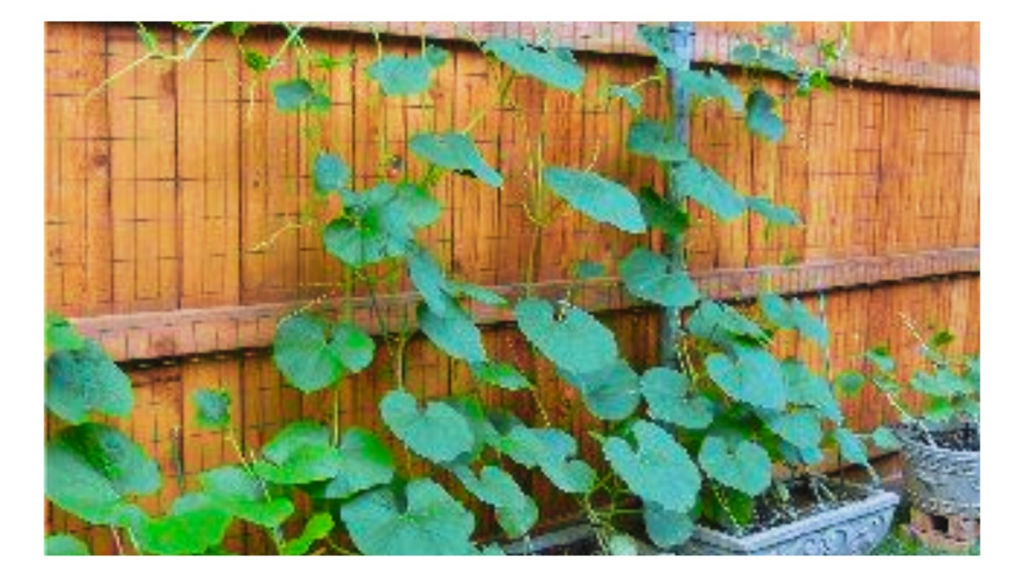
As bottle gourd plants grow, they require support to climb and spread. Install trellises or stakes near each bucket to provide support for the vines. Train the vines to climb the support structure as they grow, guiding them gently to prevent.
Fertilizing
To promote healthy growth and abundant fruit production, fertilize the bottle gourd plants regularly with a balanced, water-soluble fertilizer. Follow the manufacturer’s instructions for application rates and frequency, adjusting needed based on plant growth and soil conditions.
Pest and Disease Management
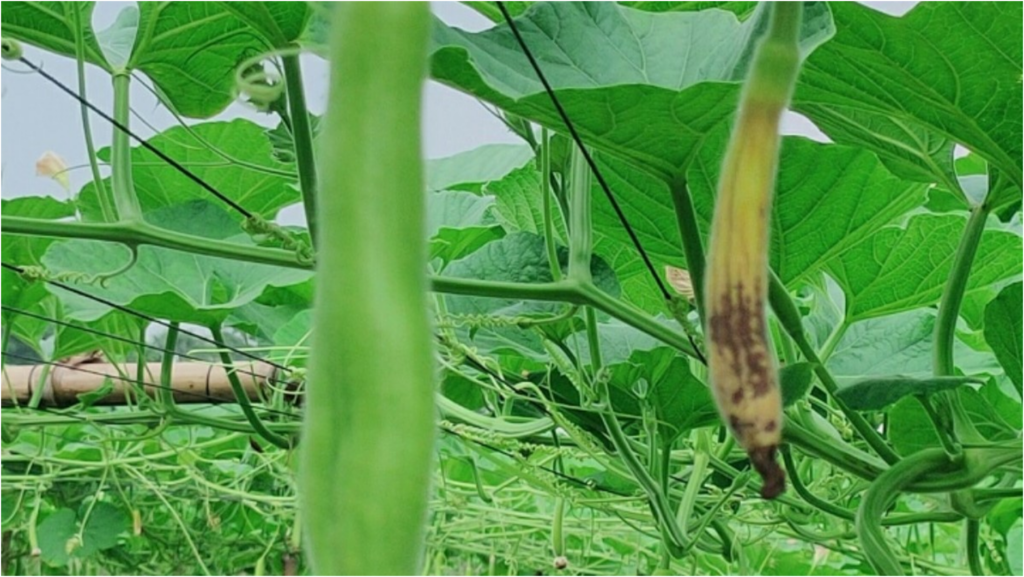
Monitor the plants regularly for signs of pests such as aphids, squash bugs, or powdery mildew. Control pests using organic methods such as handpicking, insecticidal soap sprays, or introducing beneficial insects like ladybugs. Additionally, practice good garden hygiene by removing debris or fallen leaves that may harbor pests or disease pathogens.
Harvesting
Bottle gourds are ready for harvest approximately 60-90 days after planting, depending on the variety and growing conditions. Harvest the gourds when they reach their mature size, typically 8-12 inches in length optimal flavor and tenderness. Use a sharp knife or pruning shears to cut the gourds from the vine, leaving a short stem attached.

