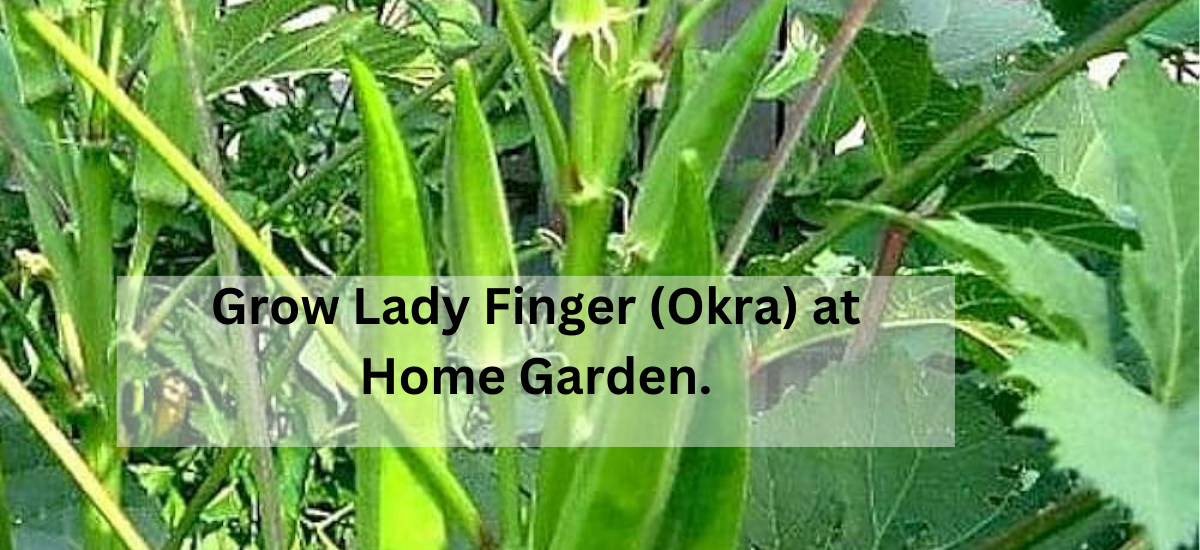
Okra, also known as Bhindi, is a versatile and nutrient-rich vegetable that can be grown in home gardens. Whether you’re a seasoned gardener or a beginner, growing Okra at home is a rewarding experience. In this guide, we’ll provide step-by-step instructions to cultivate Okra successfully with minimal effort.
Table of Contents
Tips for Growing okra
Preparation of soil
Planting & Transplantation
Caring of okra
Harvesting of okra
Tips for Growing Okra
Begin the Okra cultivation process by starting Lady Finger seeds indoors in pots. If you reside in warmer climates, you can directly plant the seeds outdoors. Okra thrives in full-sun conditions, so choose a spot that receives 5-6 hours of sunlight daily. Remember, the hotter, the better for Okra.

Preparation of Soil
Optimal soil conditions are crucial for Okra growth. Aim for a pH level between 6.5-7. Test your soil or use compost to enrich it with nutrients. Okra flourishes in well-nourished soil, so incorporating compost material is highly recommended.

Planting & Transplantation
When planting Okra seeds, sow them 7-8 inches apart and ½ inch deep. For indoor cultivation with later transplantation, ensure a spacing of 9 to 10 inches between seedlings. Handle seedlings delicately to prevent damage. Dig a hole deep enough to accommodate the entire root ball and cover it fully with soil.

Caring of Okra
Maintain proper hydration by watering your Okra plants every morning to help them retain moisture throughout the day. When seedlings reach 3 inches in height, thin them out by removing smaller plants, leaving the stronger ones intact. Keep the garden free of pests and weeds by removing unwanted plants promptly. Utilize homemade pesticides to deter bugs and ensure the overall health of your Okra plants.

Harvesting of Okra
Expect your first Okra harvest within 45 to 50 days of planting. Harvest when the pods are 2-3 inches tall, repeating every two days. Use scissors or gently pluck the pods just above their caps. Harvesting stimulates further growth, so continue until the plant stops producing.


