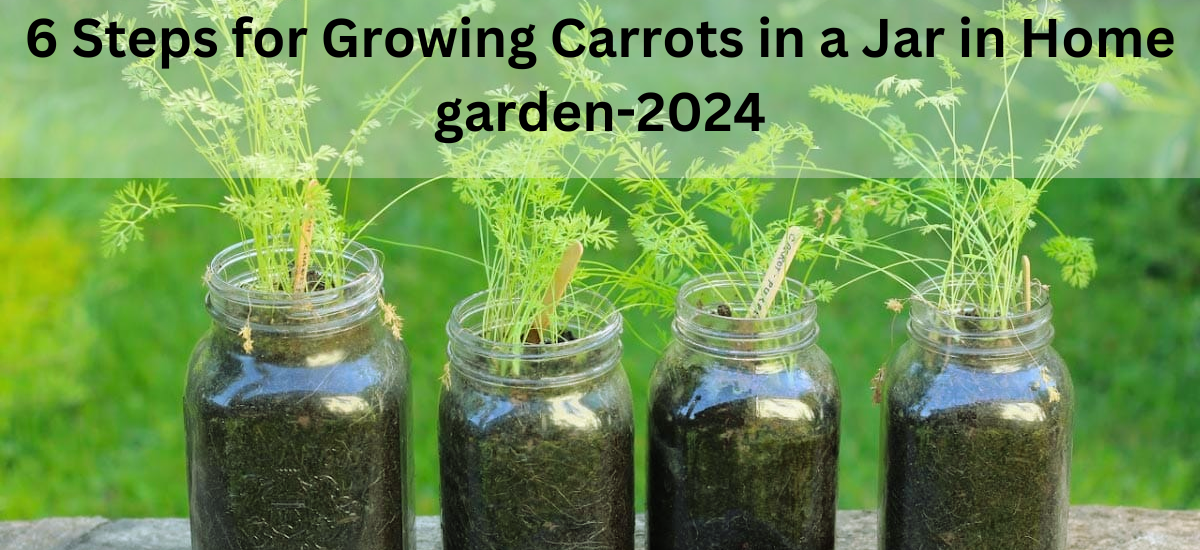
Growing your carrots at home can be a rewarding and sustainable way to enjoy fresh and flavorful produce. If you have limited space, don’t worry – you can still cultivate these vibrant root vegetables right in the comfort of your home using jars. This article will explore a simple and effective six-step process to grow carrots in jars in your home garden.
Step 1: Selection of the Right Jar and Soil
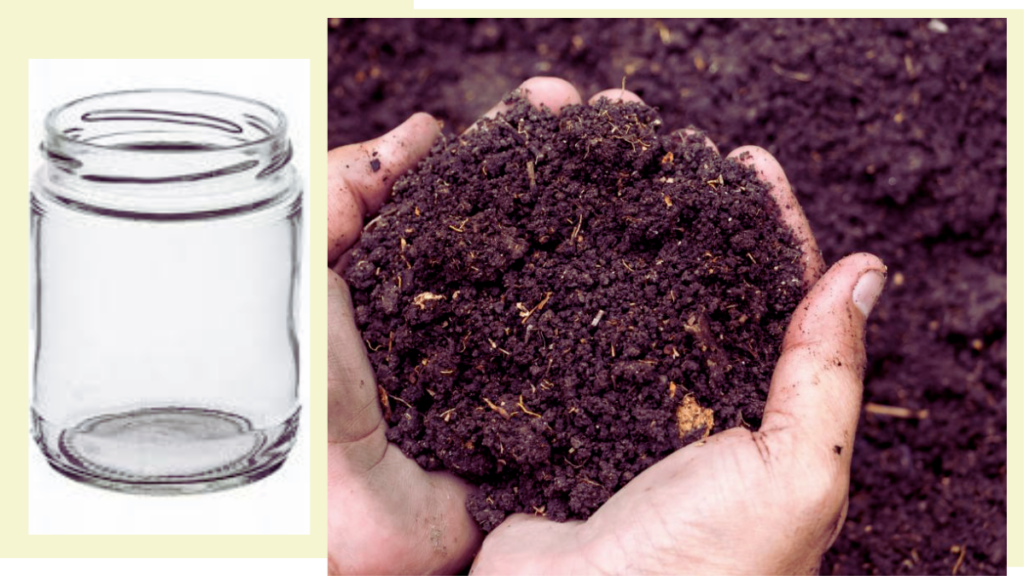
Choosing the right jar is important for successful carrot cultivation. Select for a large, deep jar to accommodate the carrot’s long taproot. Make sure the jar has drainage holes to prevent water logging. Use a well-draining potting mix enriched with organic matter to give the carrots the necessary nutrients.

Step 2: Selection of the Right Carrot Variety
Selecting a suitable carrot variety is essential for successful indoor gardening. Choose shorter or round varieties like Thumbelina or Parisian, which are well-suited for container gardening. These varieties are perfect for limited spaces and will increase in the confined environment of a jar.

Step 3: Planting the Carrot Seeds
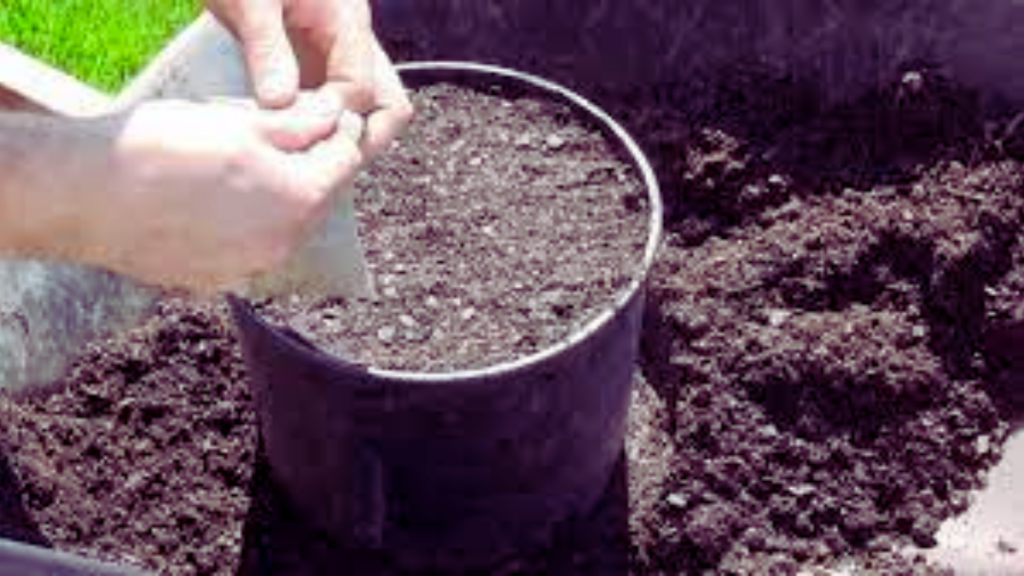
Sow carrot seeds directly into the prepared soil. Ensure the seeds are evenly distributed, covering the surface of the soil. Lightly press the seeds into the soil and cover them with a thin layer of additional potting mix. Water the soil gently to keep it consistently moist but not waterlogged. Place the jar in a sunny location to encourage germination.

Step 4: Provide sufficient Sunlight
Carrots succeed in full sunlight, so place your jar in a location where the plants can receive at least 6-8 hours of direct sunlight per day. If you don’t have access to natural sunlight, consider using artificial grow lights to ensure the carrots receive the light they need for healthy growth.

Step 5: Maintenance and Watering
Maintain consistent moisture levels in the soil by watering the carrots regularly. Be careful not to overwater, as carrots can be sensitive to waterlogged conditions. Monitor the soil’s moisture level and adjust your watering schedule accordingly. Additionally, remove any weeds that may compete with the carrots for nutrients and space.
Step 6: Harvest Your Home-Grown Carrots
Carrots are typically ready for harvest 60-80 days after planting, depending on the variety. Check the size and color of the carrots they should be firm and brightly colored. Gently pull the carrots from the jar, taking care not to damage the roots. Rinse them thoroughly, and your home-grown carrots are ready to be enjoyed in salads, snacks, or any culinary creation of your choice.


