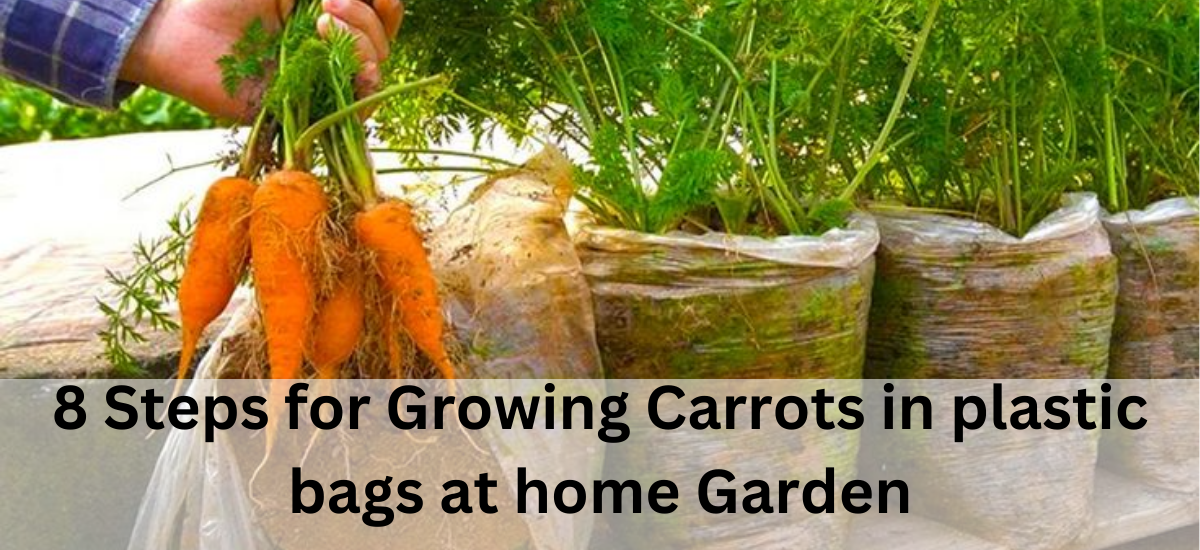
Carrots are a versatile and nutritious addition to any home garden, and growing them in plastic bags is a convenient and space-saving method. Whether you have limited outdoor space or poor soil quality, this innovative approach allows you to enjoy fresh, homegrown carrots with minimal effort. In this guide, we will walk you through the step-by-step process of growing carrots in plastic bags in your home garden.
Why Plastic Bags?
Plastic bags create an optimal and controlled environment for growing carrots, allowing gardeners to carefully manage moisture levels. This precision is crucial during the germination stage, ensuring a consistent and favorable setting for the seeds to sprout and thrive.
Materials Needed
Plastic bags
Choose strong, reusable bags with good drainage holes. Each bag should preferably have a capacity of at least 5 gallons to provide sufficient space for carrot growth.
Potting mix
Select a high-quality potting mix that is well-draining and rich in organic matter.
Carrot seeds
Select a carrot variety suitable for container gardening, such as Short ‘n Sweet, Thumbelina, or Parisienne.
Watering or hose
Ensure a balanced supply of water for your growing carrots.
Fertilizer
Choose a balanced, all-purpose fertilizer suitable for container gardening.
Steps to Grow Carrots in Plastic Bags
1. Prepare the Plastic Bags
Select plastic bags with good drainage holes to prevent water logging. Fill each bag with potting mix, leaving a couple of inches from the top.
2. Planting Carrot Seeds
Sow carrot seeds directly into the potting mix, following the recommended spacing on the seed packet. Lightly cover the seeds with a thin layer of potting mix.
3. Watering
Keep the potting mix consistently moist but not waterlogged. Water the bags regularly, ensuring the soil does not dry out, especially during hot weather.
4. Sunlight and Location
Place the plastic bags in a location that receives at least 6-8 hours of sunlight per day. Carrots thrive in well-lit areas, and proper sunlight is essential for their growth.
5. Thinning Seedlings
Once the carrot seedlings have grown a few inches tall, thin them to ensure proper spacing. This helps prevent overcrowding and promotes healthier root development.
6. Fertilizing
Apply a balanced, all-purpose fertilizer according to the package instructions every 4-6 weeks to provide essential nutrients for carrot growth.
7. Harvesting
Carrots are typically ready for harvest 60-80 days after planting, depending on the variety. Gently pull the carrots from the soil, taking care not to damage the roots.

8. Care and Maintenance
Keep an eye out for pests and diseases, and address any issues promptly. Monitor soil moisture levels regularly and adjust watering accordingly.


